Datadog
Supported Data Types:
TraceMetricsLogsRedMetricServiceInstanceTopology
This document is for integrating Datadog's Trace Metrics Logs RedMetric ServiceInstance Topology data into Syncause.
- You need access to a running Syncause service to complete this tutorial. For instructions, please refer to the "Setup" section.
- You need a Datadog account with relevant Datadog features enabled.
- Access Syncause's
Ingestion->External Data Sources-> ClickDatadogto create a new Datadog data type.
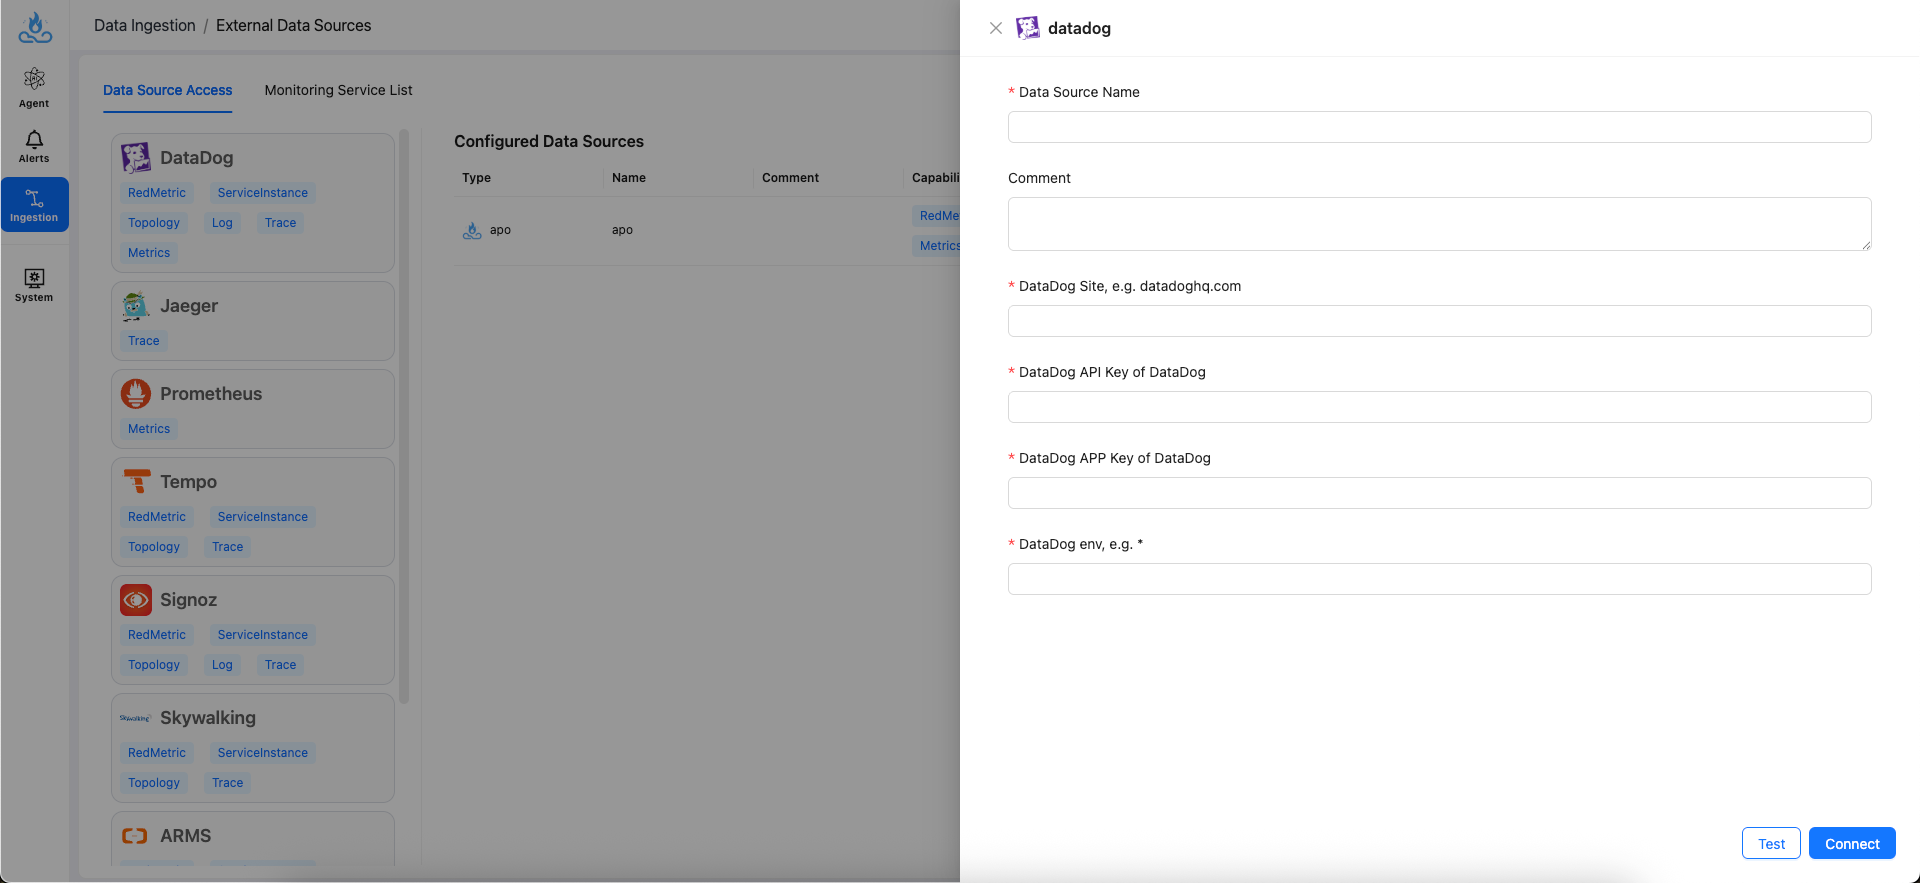
Field Description
| Field | Description | Example |
|---|---|---|
| Data Source name | Data source name | my-datadog |
| Comment | Data source comment | |
| Datadog Site | Datadog Sites | datadoghq.com |
| Datadog API Key | Datadog API key | jyb2t7i6pw2kac9aqxbp9o7vuund76z5 |
| Datadog APP Key | Datadog Application key | k6rjtb893udmchgforrxuin7e5f5cazfkykrmv27 |
| Datadog env | Datadog env. For multiple environments, create separate Datadog integrations for each. | dev |
Setup Guide
Step 1: Access Your Datadog Account
- Open your Datadog URL and log in to your Datadog account.
- Confirm the
Site Parameterfor your site URL according to the following table (Ref. from official Datadog website), and enter it into theDatadog Sitefiled. For example, if your site URL ishttps://app.datadoghq.com, then enterdatadoghq.com.
| Site | Site URL | Site Parameter | Location |
|---|---|---|---|
| US1 | https://app.datadoghq.com | datadoghq.com | US |
| US3 | https://us3.datadoghq.com | us3.datadoghq.com | US |
| US5 | https://us5.datadoghq.com | us5.datadoghq.com | US |
| EU1 | https://app.datadoghq.eu | datadoghq.eu | EU (Germany) |
| US1-FED | https://app.ddog-gov.com | ddog-gov.com | US |
| AP1 | https://ap1.datadoghq.com | ap1.datadoghq.com | Japan |
| AP2 | https://ap2.datadoghq.com | ap2.datadoghq.com | Australia |
Step 2: Create Datadog API Key
- Hover over the user avatar in the bottom left, and click
API Keysunder theOrganization Settingssection.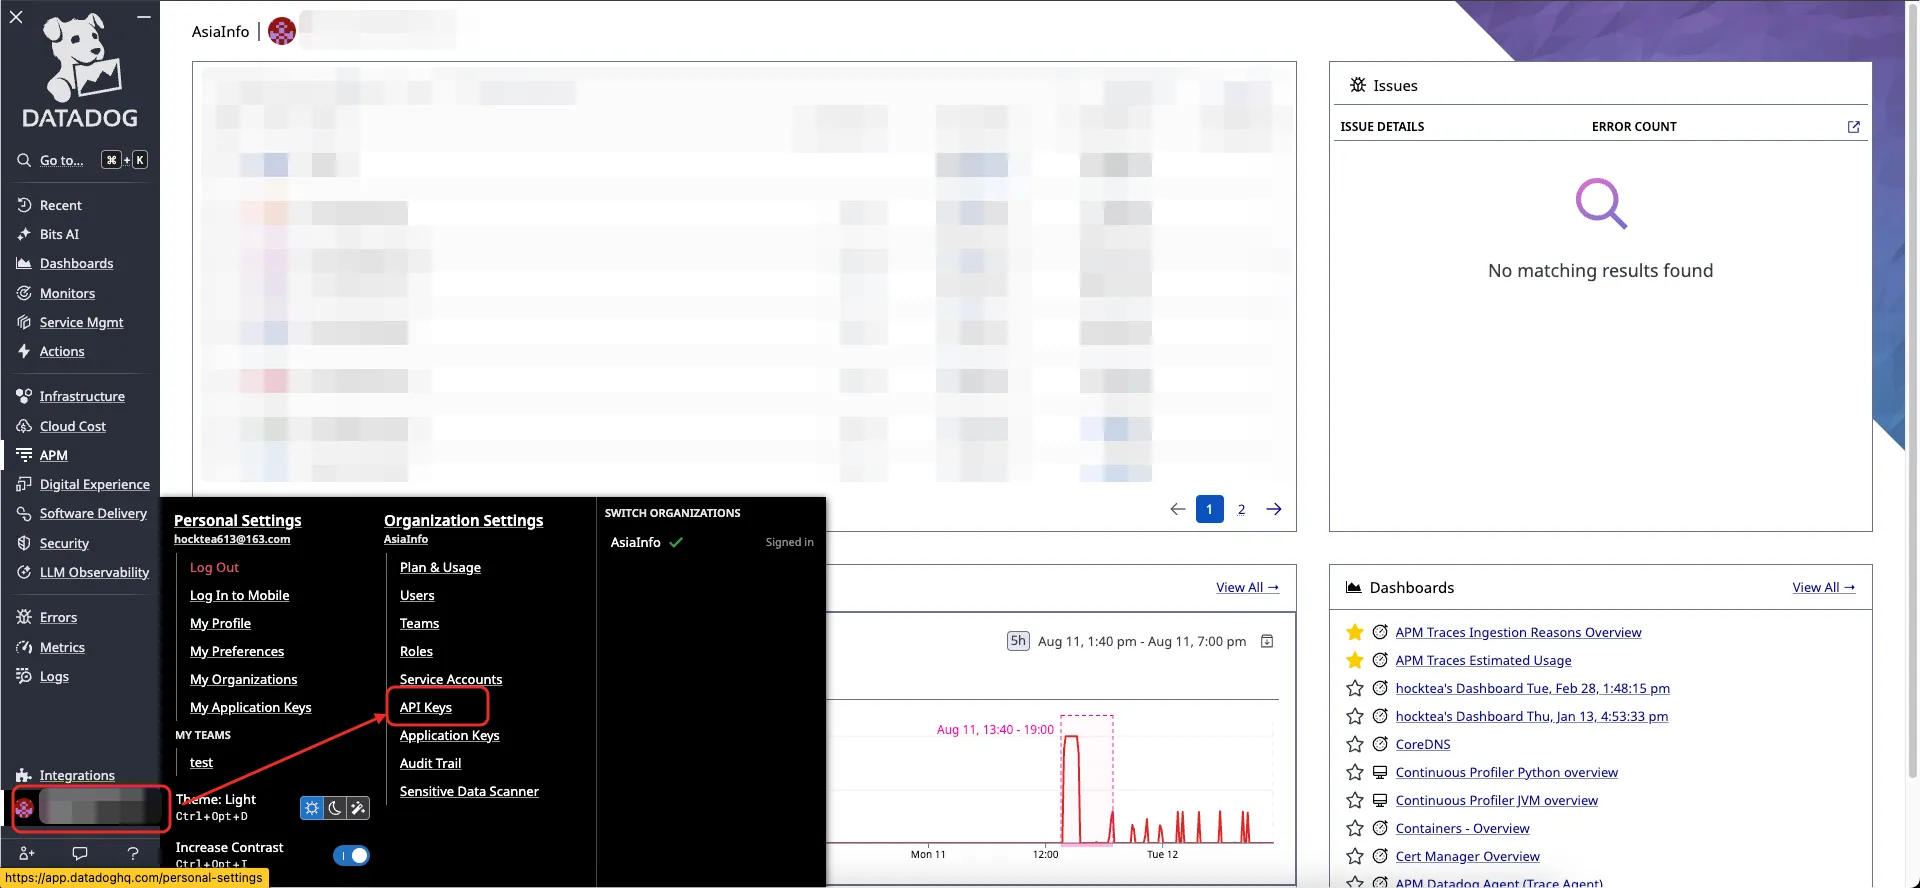
- Click
+ New Key, enter a name for the API Key, and confirm.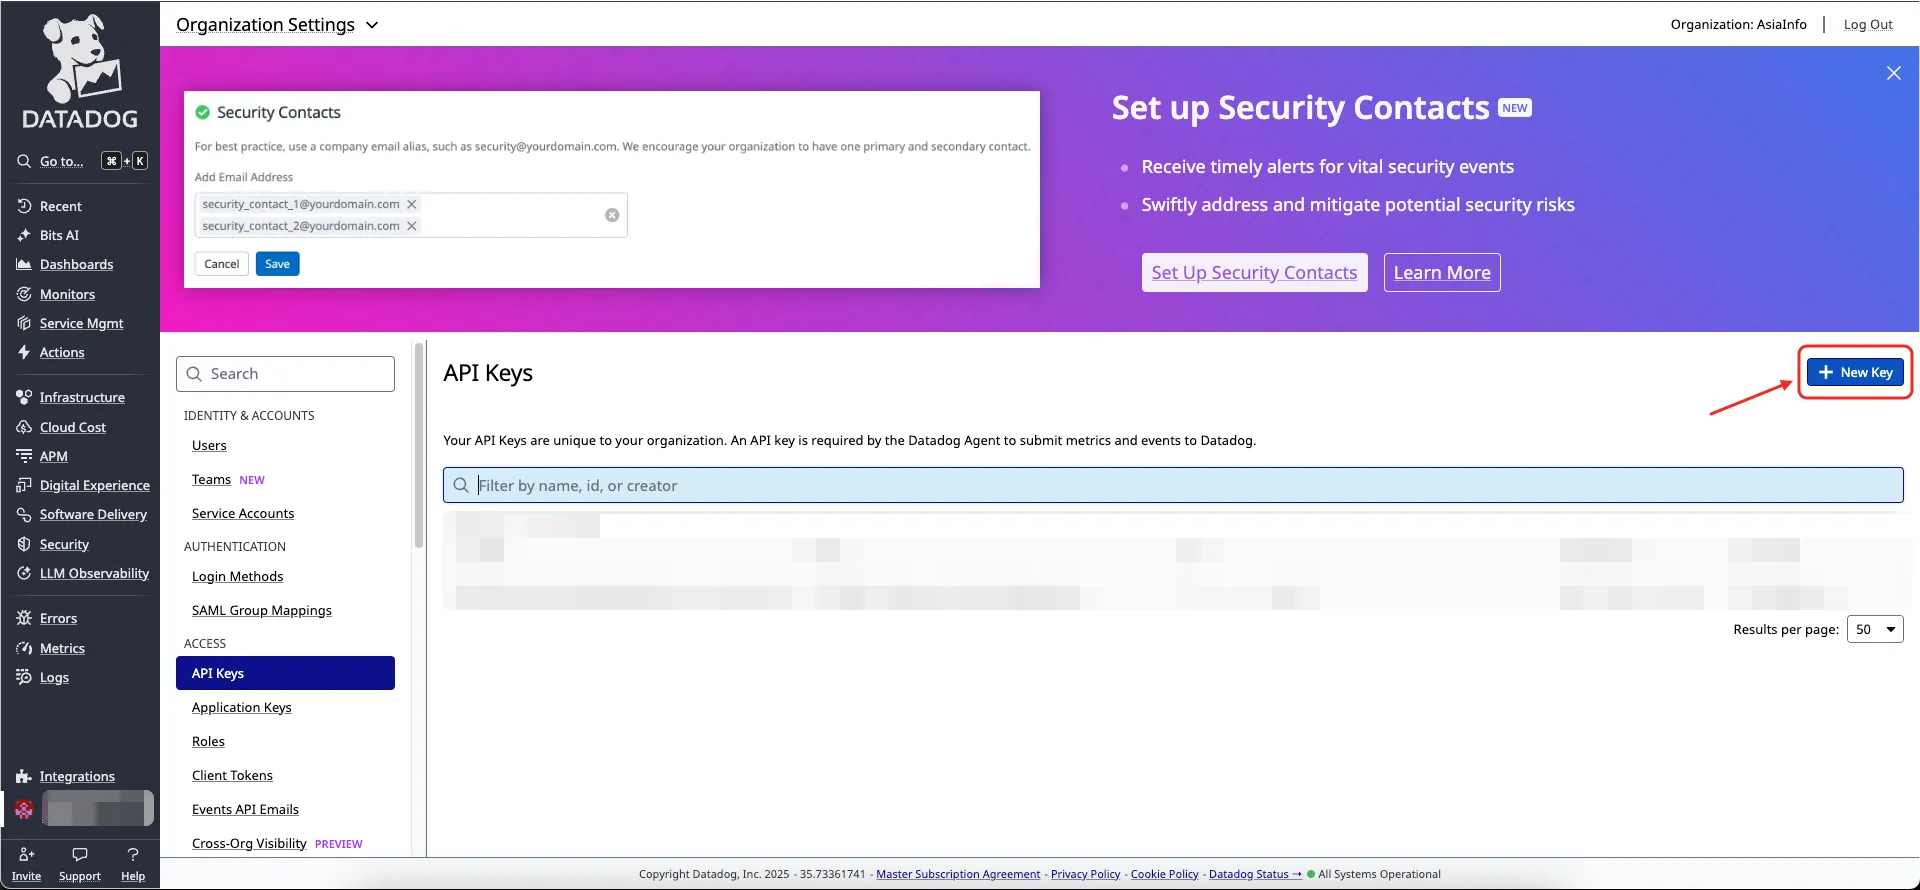
- Copy the newly created API Key and enter it into the
Datadog API Keyfield.
Step 3: Create Application Key
- Hover over the user avatar in the bottom left, and click
Application Keysunder theOrganization Settingssection.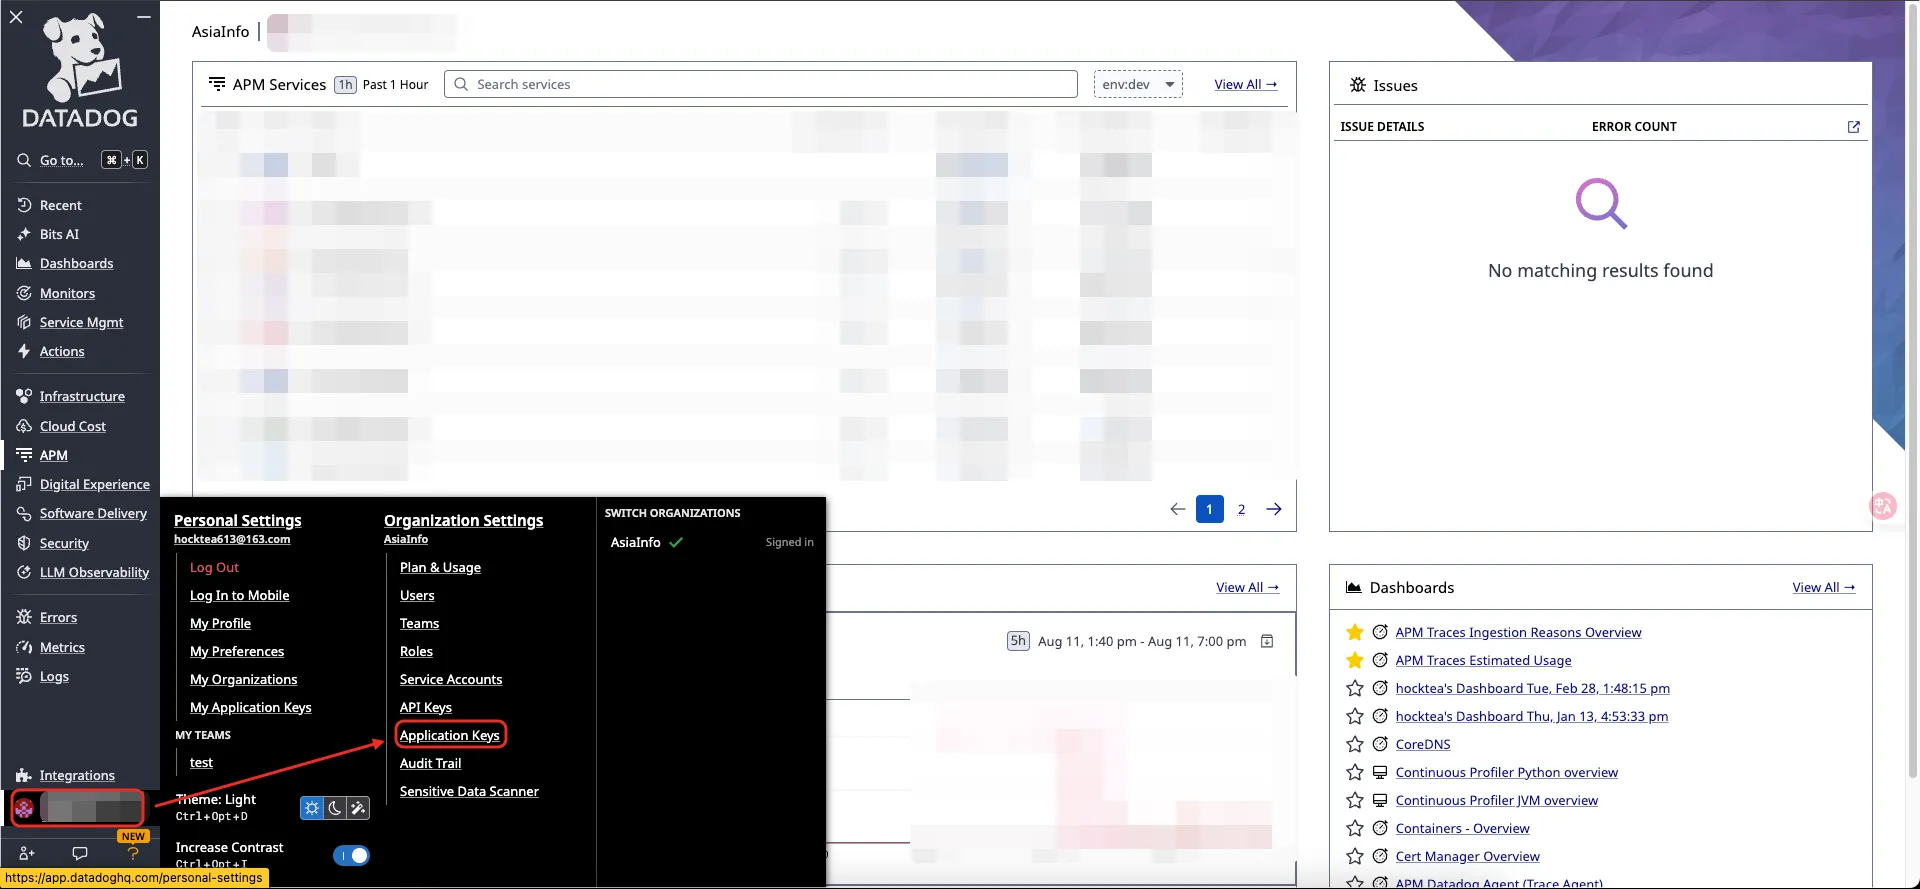
- Click
+ New Key, enter a name for the Application Key, and confirm.
- Copy the newly created Application Key and enter it into the
Datadog APP Keyfield.
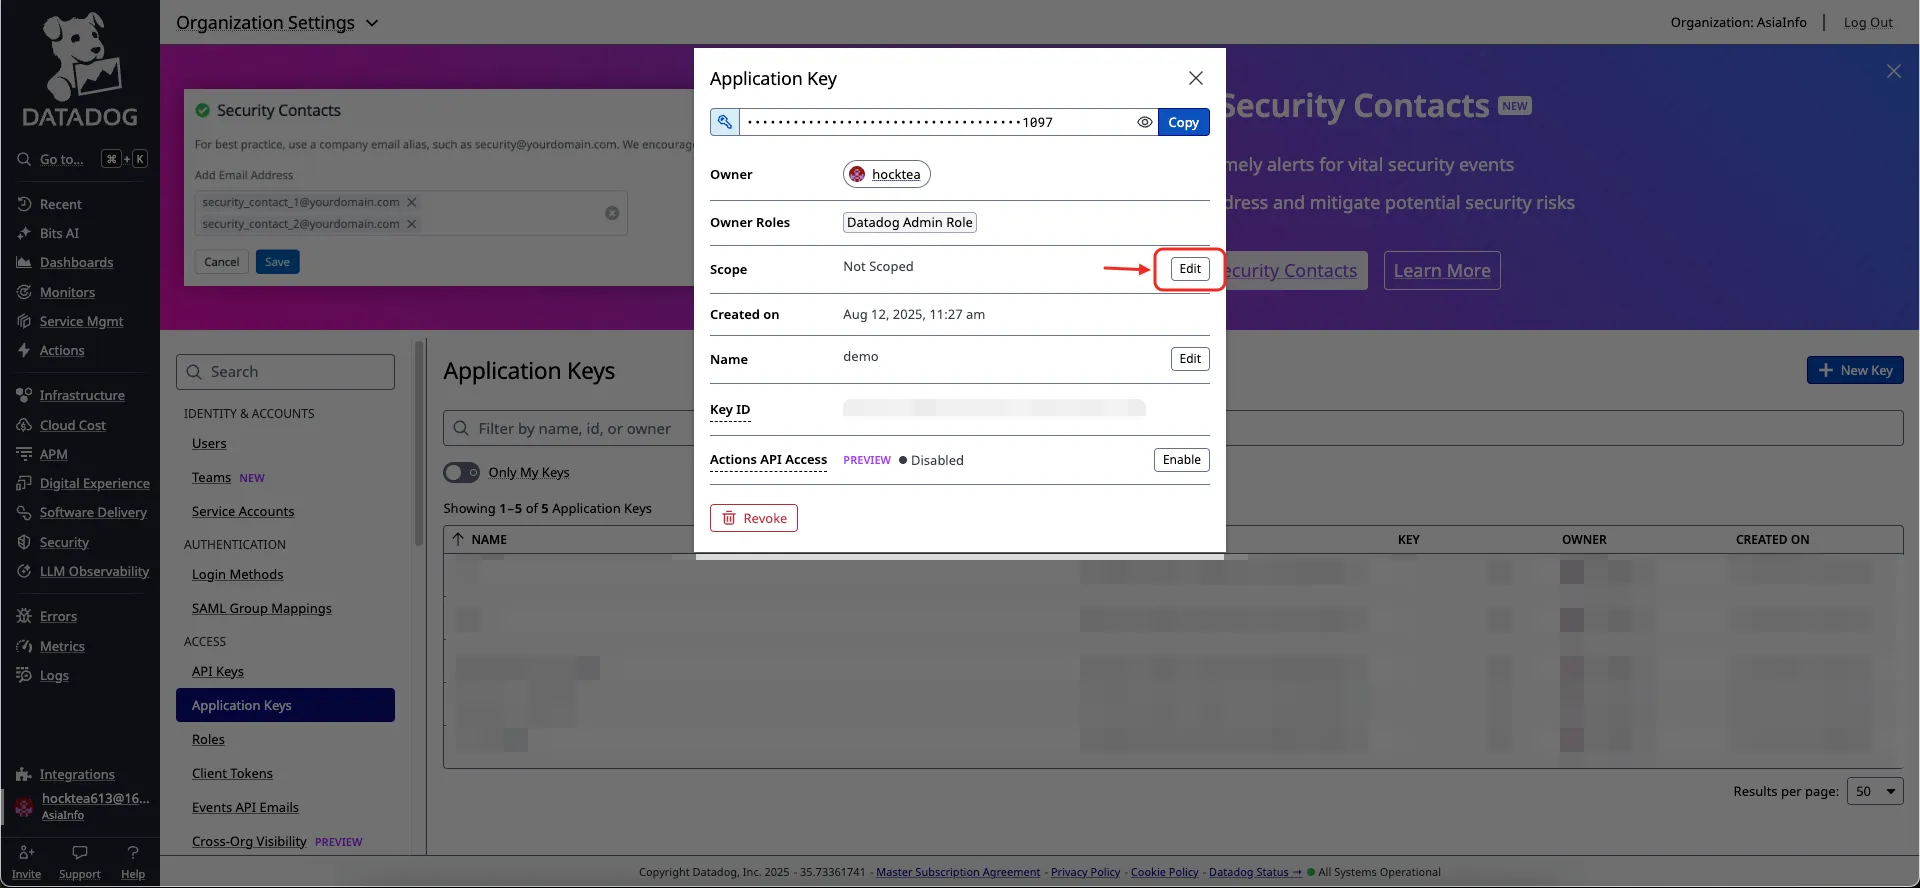
(Optional) Step 4: Configure Application Keys Permissions
Application Keys default to Not Scoped, meaning full access is granted, and users can use them without any adjustments. If you want to implement minimal permission management, Syncause data integration requires Application Keys to have the following permissions:
apm_readtimeseries_querylogs_read_datalogs_read_index_data
Edit Application Keys Permissions
- Click the
Editbutton next toScope. - In the scope list, select the minimal permissions as described in the section above, and click save.
Step 5: Configure Datadog env
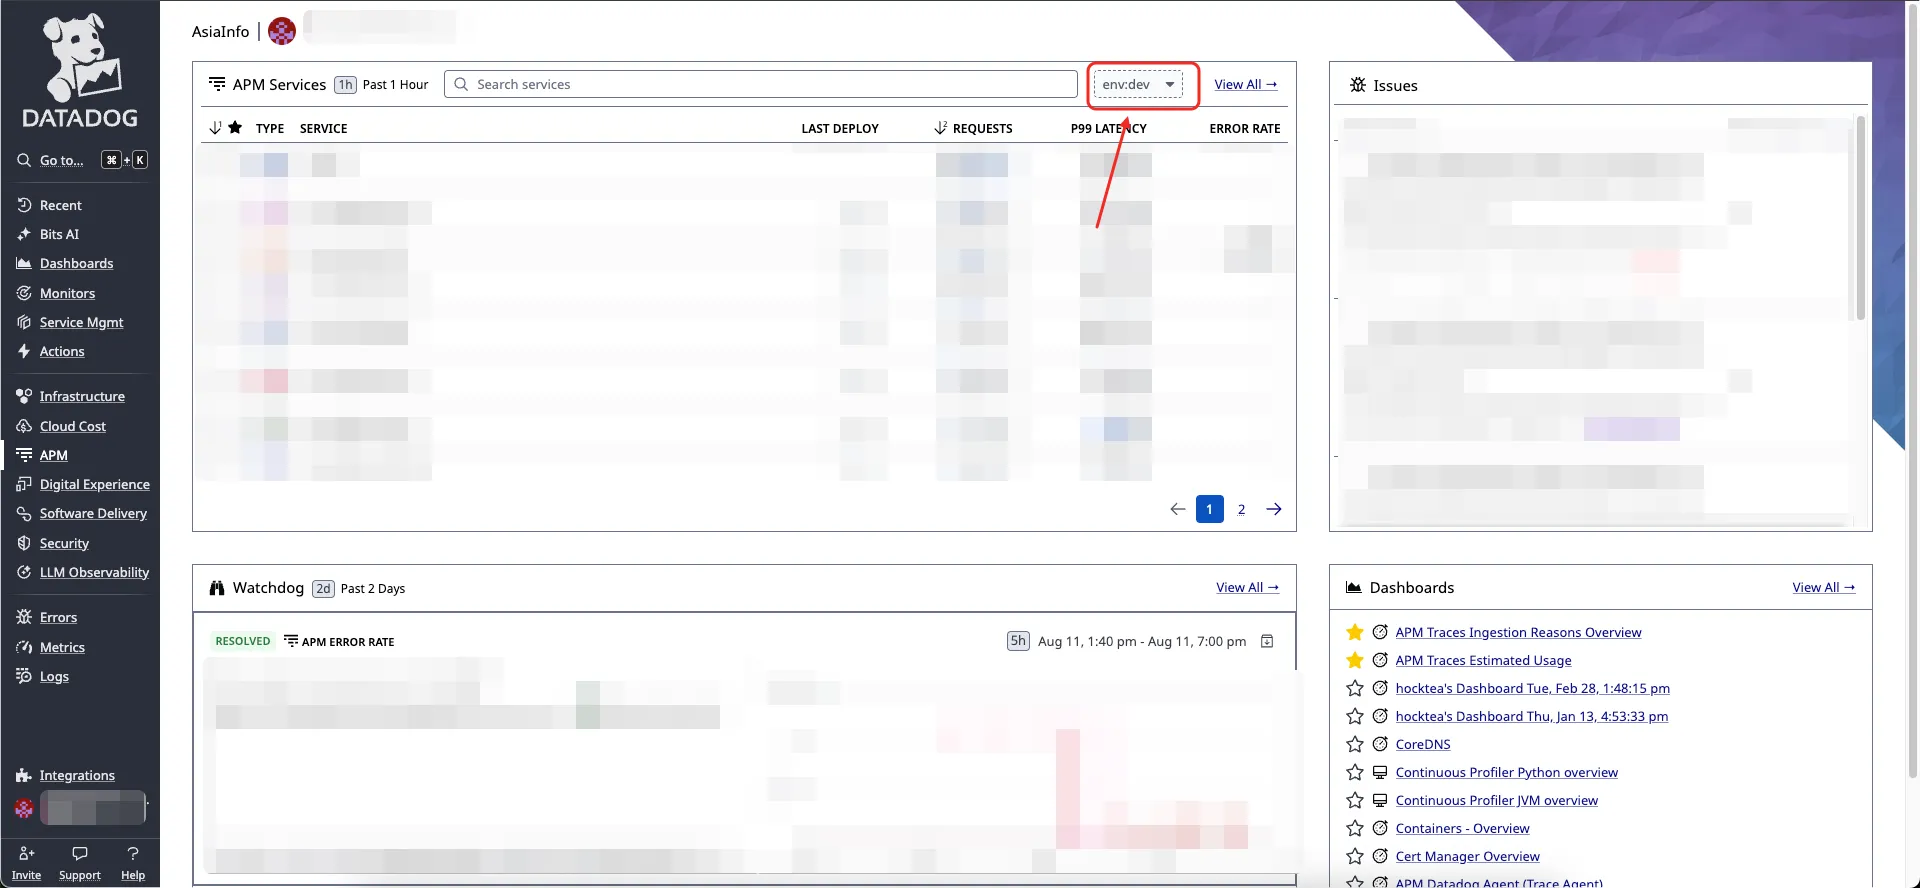
Identify which applications you want to integrate with Syncause.
- Click
APMfrom the left-hand menu, then clickServiceson the right-hand card. - Locate the environment value for the application to be monitored, and enter that value into the
Datadog envfield. - If you have multiple environments (for example, dev, staging, prod), create a separate Datadog integration for each.